


Apple’s latest iPhone feature could save you from having to fumble for your passport while traveling.
The tech giant launched on Wednesday a way for iPhone and Apple Watch users to carry a virtual version of their US passport using information from the real thing. It can be used for domestic travel at TSA checkpoints at more than 250 US airports, the company said.
The new Digital ID feature in the latest version of iOS 26 adds passports to a range of government-issued IDs that can be included in the Apple Wallet. The iPhone maker touted the security and privacy of the feature.
“We’re excited to expand the ways users can store and present their identity — all with the security and privacy built into iPhone and Apple Watch,” Jennifer Bailey, vice president of Apple Pay and Apple Wallet, said in the news release.
Apple said Digital ID expands access to virtual versions of government IDs and could present an additional ID option for people without Real ID-compliant identification. It can also be used to book some flights or hotels.
However, this new feature doesn’t mean you should leave your physical passport at home. Digital ID can’t be used for international travel or crossing borders, Apple said.
However, for domestic travel, Digital ID allows you to carry your passport, boarding pass, and ID all in one place on your iPhone or Apple Watch.
Here’s how to set it up.
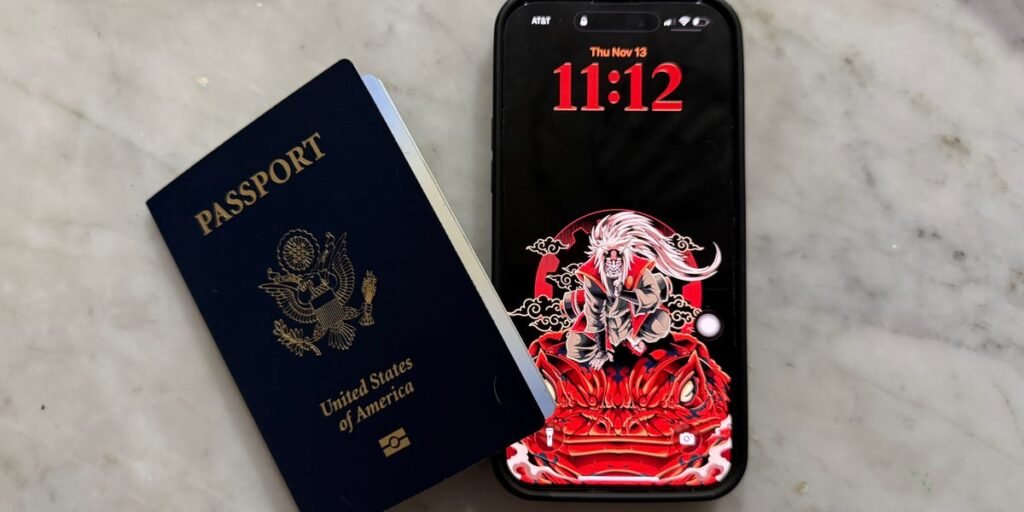
Grab your passport and open up Apple Wallet
Jordan Hart/Business Insider
Apple Wallet is where you store your debit or credit cards, transit cards, boarding passes, and more. Starting Wednesday, your Digital ID can be found under the Driver’s License and ID card tab.
Before setting up Digital ID, make sure you have your passport in hand. You’ll need the physical copy to create your virtual one.
You’ll find out more about what Digital ID can do
Jordan Hart/Business Insider
Once you’ve confirmed that you want to proceed, Apple will provide you with information about Digital ID. Then, it’s time to open your US passport to the photo page and scan it with your iPhone’s back camera.
Keep your passport open
Jordan Hart/Business Insider
Turn to the back of your passport book, and find the barcode. Don’t worry if you, like me, don’t know where to find this; Apple displays a helpful image to guide you. Your phone should read the chip embedded in your passport.
Get ready to take a few selfies
Jordan Hart/Business Insider
To verify your identity, Apple requires a clear image of your face from multiple angles. This means taking a still photo, plus doing a few movements to get a proper scan.
I had to close my eyes, tilt my head from side to side, and smile before the verification was complete.
Wait for the verification to process
Jordan Hart/Business Insider
Now that all of your selfies and scans are complete, your verification should be processing. No need for further action — Apple will let you know once it’s done.
For me, it took only one minute to go through. Then, I was all set to use my Digital ID next time I travel domestically.